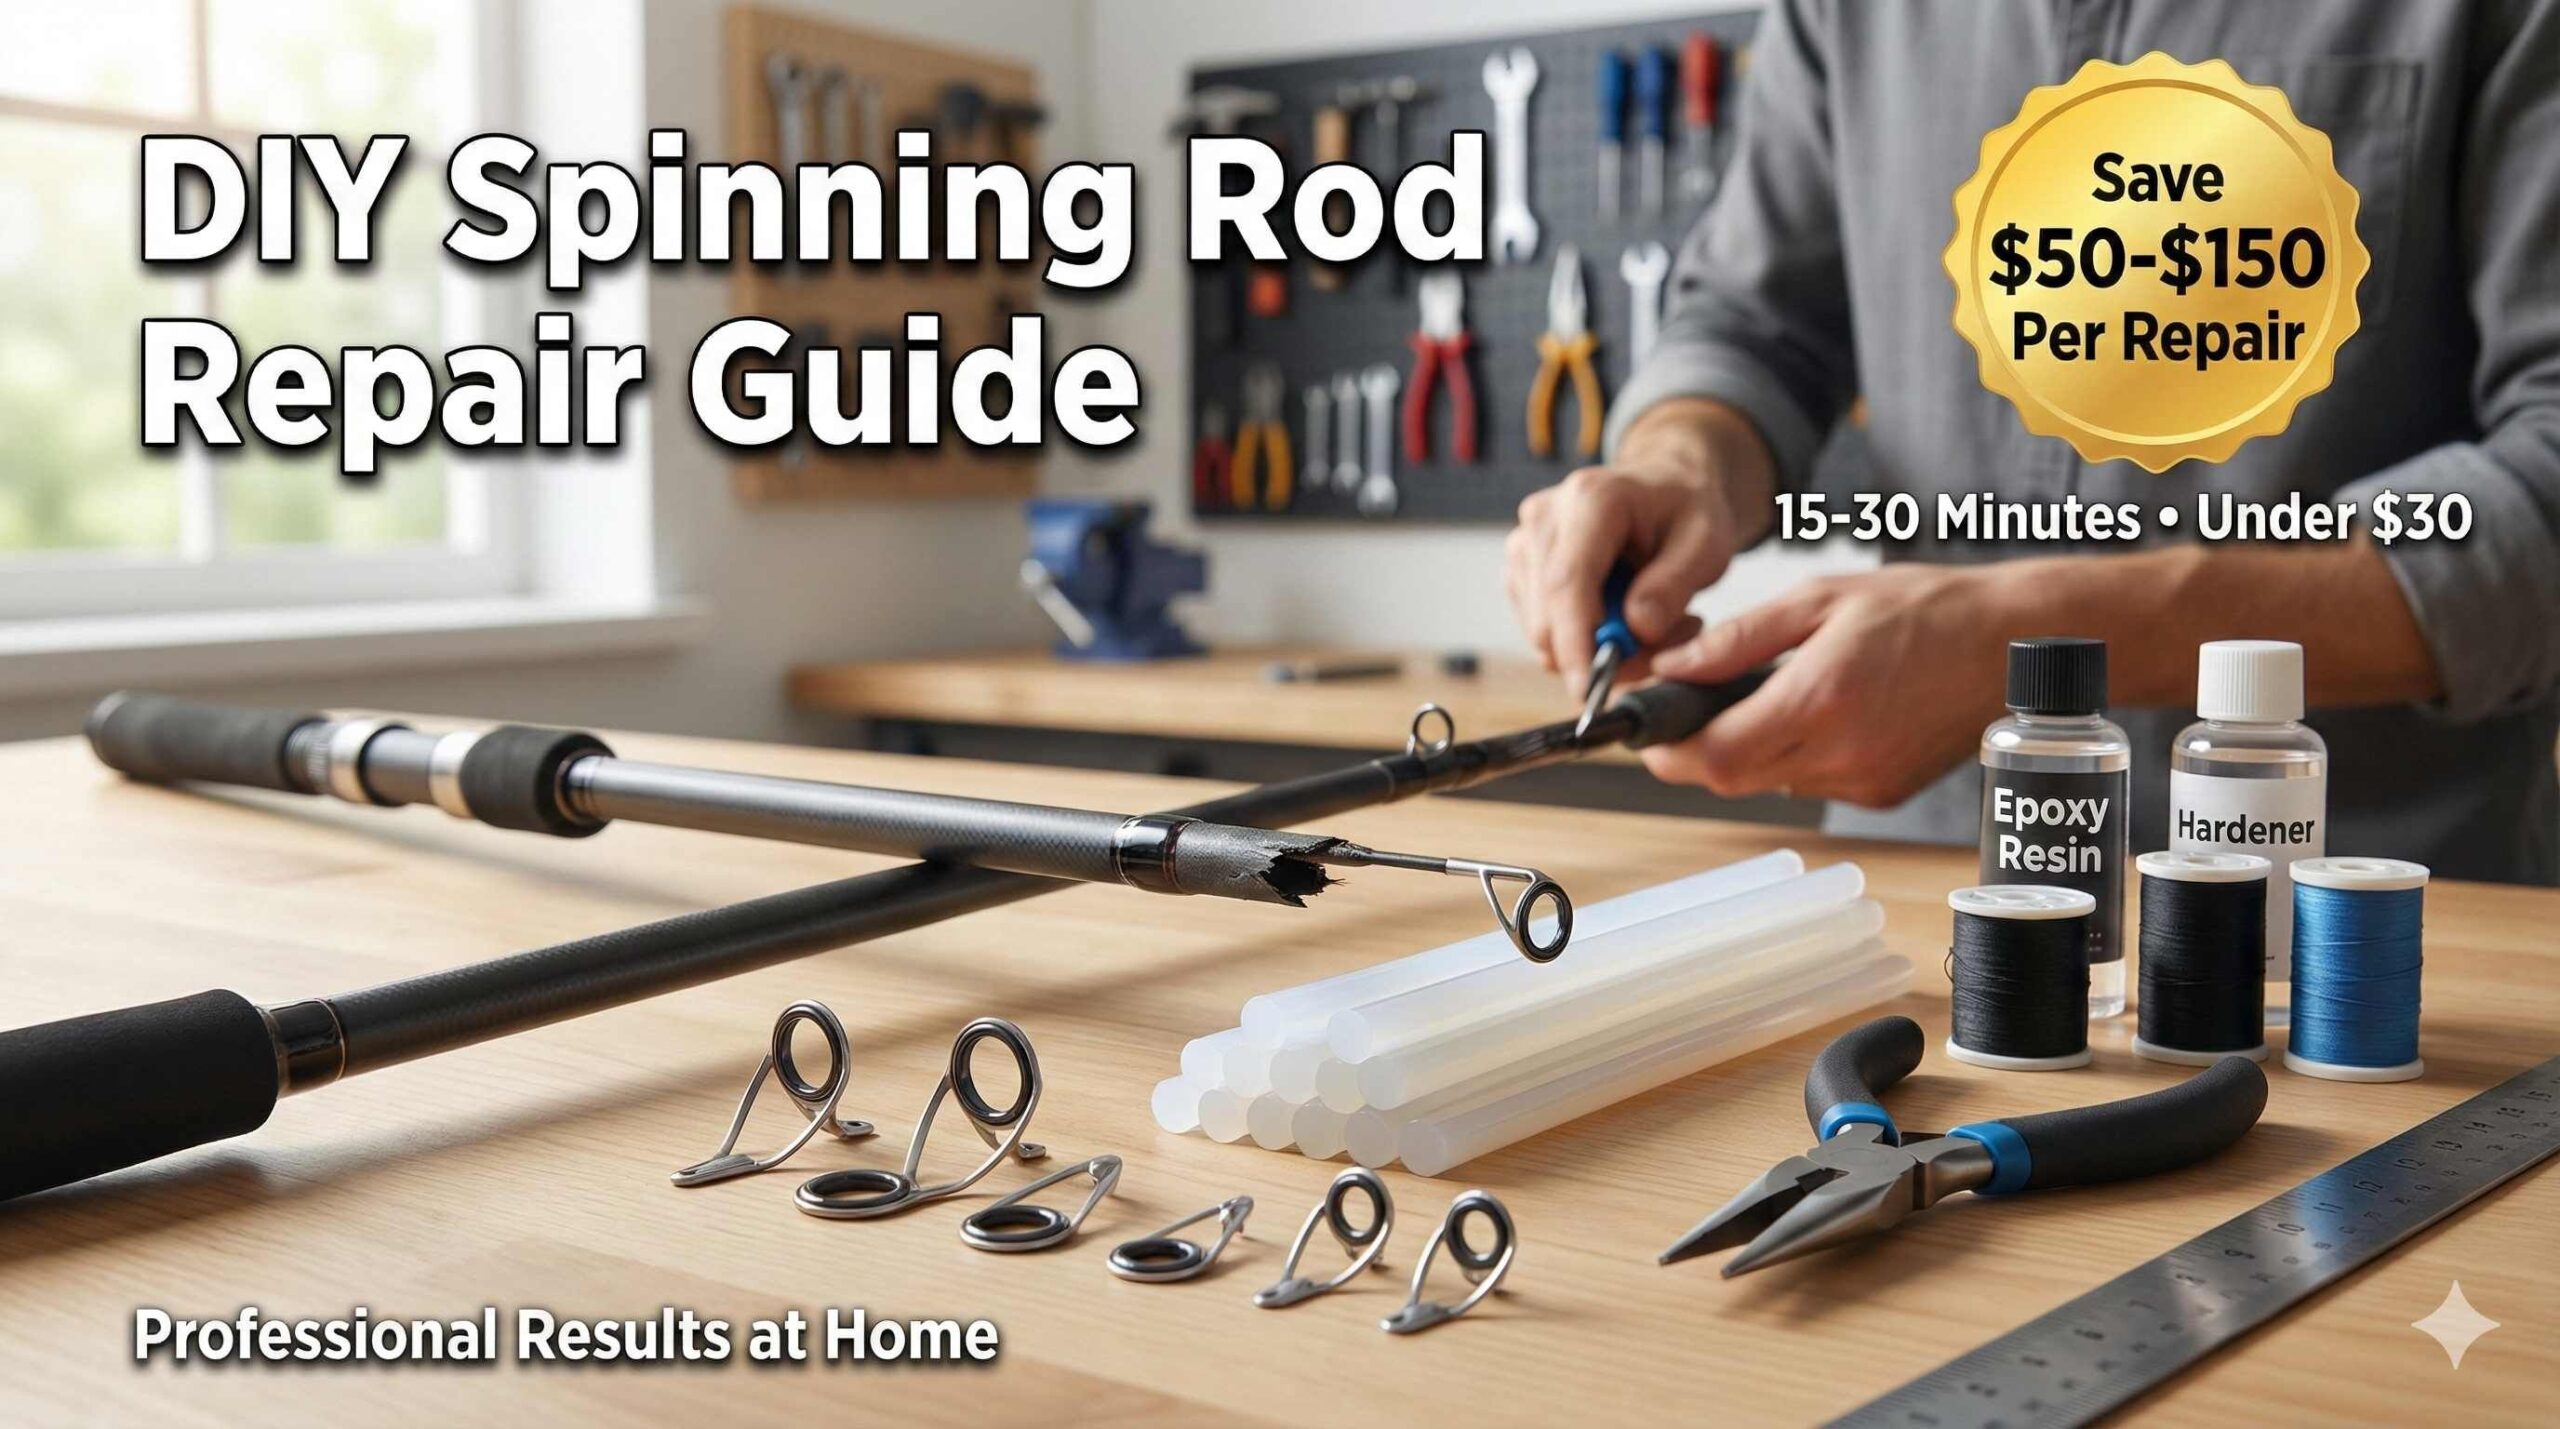
The snap of your favorite spinning rod breaking mid-fight with a trophy fish is heartbreaking. Now you’re facing tough choices: pay $50-$ 150 for professional repairs, spend $100-$ 400 on a new rod, or discard perfectly good gear.
Here’s better news. Most spinning rod repairs take 15-30 minutes using basic tools costing under $30. Whether you broke a tip, cracked a guide, or wore through handles, you can fix it yourself. DIY repairs cost just $10-$ 30 in materials, versus $ 20-$100+ professionally—saving you 70-90%.
This guide covers the four most common repairs: broken tips, damaged guides, worn handles, and cracked blanks. Let’s get your rod back in action.
When to Repair vs Replace Your Spinning Rod
Not every damaged rod deserves repair. Professional repairs run $20-100+, depending on damage, while DIY materials cost $10-30. If your rod costs over $100 and repair materials run under $40, fix it yourself. Rods under $50 needing major work probably cost more to repair than replace—unless they hold sentimental value.
Repairable damage: Broken tips, cracked guide inserts, loose wraps, worn handles, small blank cracks, and single clean breaks.
Replace instead: Multiple breaks, severe corrosion, extensive splintering, repair costs approaching 75% of replacement value.
Essential Tools for Rod Repairs (Under $50)
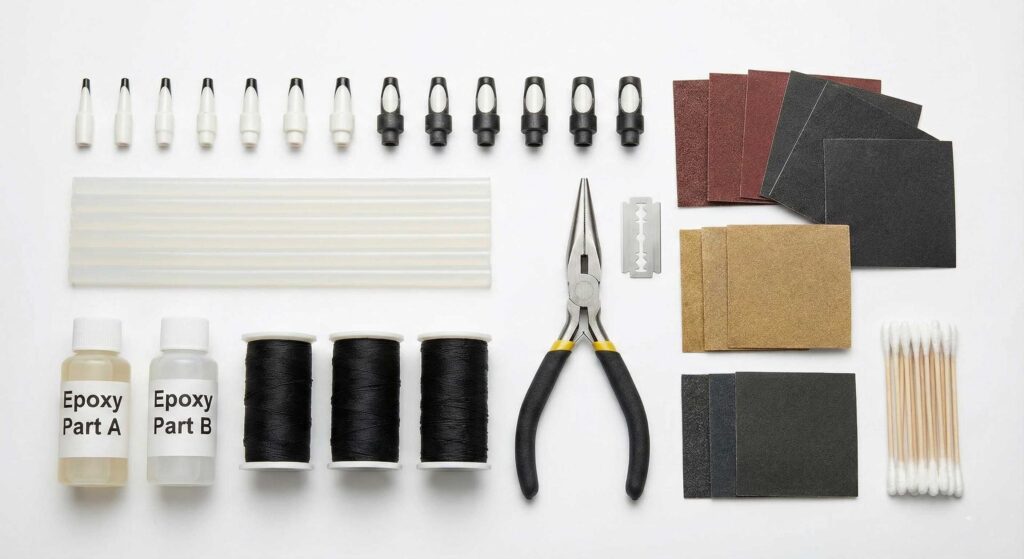
Build a complete repair kit for $40-60 that handles most damage:
- Rod tip kit (8-20 sizes, 3.0-6.0mm): $10-15
- Hot melt glue sticks and lighter: $5
- 2-part epoxy (Flex Coat Lite or ThreadMaster Lite): $15-25
- Nylon thread (Fuji Ultra Poly, size A): $5-8
- Basic supplies: razor blades, 120-220 grit sandpaper, pliers, cotton swabs, alcohol: $10-15
Optional advanced supplies: carbon fiber repair sticks (1mm-10mm, $15-25), thread burnisher ($5-10), rod wrapper ($20-50), cork seal, heat shrink grip material.
Stock quality repair supplies from our fishing products and you’ll handle most damage without emergency runs.
How to Replace a Broken Rod Tip (15-Minute Fix)
Tip replacement is the easiest spinning rod repair. Measure your broken tip’s diameter (3.0-6.0mm typical) or use visual matching. Buy multi-size kits covering most rods.
Removing the Old Tip
Here’s critical information many videos miss: factory rods use high-temp epoxy that melts blanks before releasing. Heat the tube 3-5 seconds with indirect flame, grip the metal tube with pliers (never the ceramic ring), and twist gently while pulling. If it won’t release, carefully score the tube with a razor and peel it away.
Clean the blank tip with a razor blade at a shallow angle. Remove all old epoxy, smooth with 220-grit sandpaper, and wipe with alcohol.
Installing the New Tip
Cut glue stick slivers and fill the replacement tip tube three-quarters full. Heat the tube 3-5 seconds, then heat the blank tip 2-3 seconds. Slide the glue-filled tip onto the blank, pressing and rotating once to distribute glue evenly.
Align the ceramic ring perfectly with your guide train before the glue cools. Hold steady 20-30 seconds, let cool 2-3 minutes, wipe excess glue with alcohol. Fish immediately or use 2-part epoxy for permanent installation (24-hour cure).
Emergency tip: Carry a compact kit (tip, glue stick, lighter) in your tackle box for on-water repairs.
Rewrapping and Replacing Rod Guides
Guide repairs need more skill but yield professional results with practice.
Diagnosing and Removing Guides
Run cotton swabs through ceramic rings after trips—any snag means cracks. Check for bent frames, loose wraps, or missing feet.
Remove guides by applying gentle heat to soften epoxy, then cut thread wraps with a fresh razor blade, moving away from guide feet. Clean residual epoxy and thread from the blank carefully.
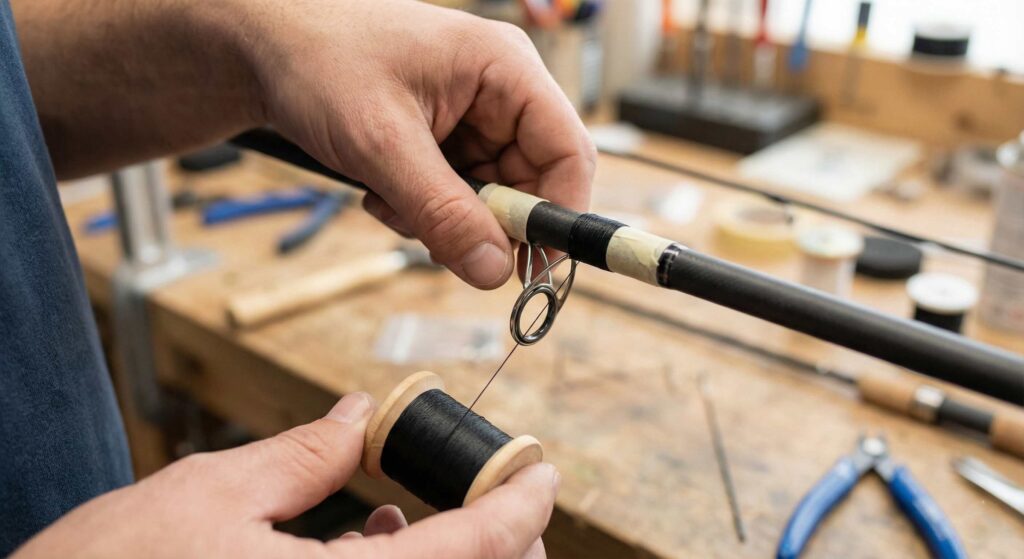
Thread Wrapping Technique
Tape thread half an inch from the guide placement. Begin wrapping toward the guide, laying the tag end flat after your first wrap. Continue over the tag end to lock it—no knots needed.
Keep wraps tight and touching. Use consistent tension (a heavy book works as a tensioner). Wrap over the guide foot carefully, continuing one-eighth inch past the foot’s end.
Create a finishing loop: cut 6 inches of thread, fold it, and lay it against the blank with the closed end pointing away. Make 8-10 wraps over the loop, cut working thread leaving a 3-inch tag, insert the tag through the loop, pull the loop ends to draw the tag under the wraps. Cut flush and touch with flame to seal.
Applying Epoxy Finish
Mix 2-part epoxy (1:1 ratio). Apply thin coats with small brush, saturating the thread without globs. Rotate the rod during a 6-8 hour cure to prevent drips—rotate by hand every 10-15 minutes for 2 hours if you lack a turner.
Apply 3-4 coats with 8-24 hours between coats. Quick-set 5-minute epoxy works for emergencies, but yellows over time.
Cost comparison: Professional guide work costs $15-30 per guide. DIY costs $8-12 per guide in materials—savings of $100-200 on full rod rewraps.
Repairing and Replacing Rod Handles
Handle damage affects comfort and control. Start with cleaning before replacing.
Restoring Cork Handles
Mix warm soapy water and scrub gently with a sponge. For deeper cleaning, use a wet Mr. Clean Magic Eraser with moderate pressure. Let the cork dry for 24 hours completely.
Apply cork seal to protect against dirt and moisture. Fill minor chips with cork dust mixed with wood glue—sand smooth when dry.
Replacing Worn Grips
Cut old cork lengthwise with a utility knife (two opposite cuts), peel away with pliers. Clean all adhesive with a razor blade and sand smooth.
Test-fit the new grip. If loose, wrap the blank with masking tape for a snug fit. Mix 2-part epoxy, coat inside grip and blank, slide into position, twisting slightly. Wipe excess immediately. Cure 24-48 hours.
Alternative: Heat shrink grip material ($10-20) slides over worn handles and shrinks with heat gun application—faster and cleaner than full replacement.
Fixing Broken Blanks (Advanced)
Blank repairs save expensive rods but require realistic expectations. Properly repaired blanks retain 70-80% original strength with slightly stiffer action near repairs.
Internal Sleeve Method
Select carbon fiber sticks fitting snugly inside both blank sections (1mm-10mm diameters). Cut sleeve 4-6 inches long (2-3 inches overlap each side).

Apply epoxy inside both sections, insert the sleeve into one section, coat the exposed end, align, and slide the second section over the sleeve. Support with jig/clamps and check alignment. Cure 48 hours.
Wrap thread 1-2 inches above and below the break using a tight wrapping technique. Apply 3 coats of epoxy over wraps for waterproofing and strength.
High-value rods justify repair effort. Budget rods often cost more to repair than replace.

Cost Savings: DIY vs Professional
Tip replacement: DIY $5-10 vs Professional $15-25
Guide repair: DIY $8-12 vs Professional $15-30
Handle replacement: DIY $15-30 vs Professional $40-80
Blank repair: DIY $20-40 vs Professional $50-150
Total savings: $100-300 per season, fixing 2-3 rods yourself. Your first 2-3 repairs recover the initial tool investment ($40-60). Every repair after that is pure savings plus immediate turnaround instead of 1-6 week shop waits.
Preventive Maintenance
Quick inspection checklist:
- Run cotton swabs through the guides after each trip
- Check tip alignment weekly
- Inspect handles for cracks and separation
- Examine guide wraps for UV damage
- Look for blank stress cracks near guides
Smart storage: Store rods vertically, use protective sleeves, control temperature/humidity, secure properly during transport. For detailed rod care, explore our fishing rod guide.
Post-fishing care: Rinse saltwater rods within 24 hours, remove dirt from guides, clean handles immediately, strip line tension before storage, and reapply cork seal annually.
Frequently Asked Questions
Can I use super glue to fix a broken rod tip?
Super glue creates permanent bonds, making future replacement difficult. Hot melt glue is preferred because it allows easy removal if the tip fails again. However, super glue works for emergency field fixes when you need to continue fishing immediately.
How long does rod repair epoxy take to fully cure?
Slow-cure epoxies like Flex Coat Lite require 24-48 hours per coat. Applying 3-4 coats means 3-5 days total project time. Fast-set 5-minute epoxy becomes fishable after 12-24 hours but may yellow over time. Wait at least one week before heavy stress on repaired rods for best results.
Will a repaired rod blank be as strong as the original?
Properly repaired blanks retain 70-80% original strength using carbon fiber sleeves and correct wrapping. The repair area becomes slightly stiffer, minimally affecting action. Many repaired rods fish successfully for years, though they won’t handle extreme punishment like new blanks.
What’s the most common mistake when replacing rod guides?
Inconsistent thread tension creates uneven, weak wraps with visible gaps when epoxy is applied. Each wrap must sit tightly against the previous wrap. Use a tensioning device and check frequently that wraps lie perfectly parallel throughout the process.
Is it worth repairing a budget fishing rod under $50?
Simple tip replacements ($5-10 DIY) almost always make sense. Major repairs costing $20-40 may exceed replacement value. However, if the rod holds sentimental value or you’re building skills for future projects on valuable rods, the time investment justifies itself beyond pure cost savings.
Conclusion: Extend Your Rod’s Life with Simple Repairs
Don’t let broken spinning rods drain your wallet or end fishing trips. Most repairs take under 30 minutes and cost less than $30, saving $50-150 versus professional services. Start with simple tip replacements, progress to guides and handles as confidence grows.
Keep a basic repair kit in your tackle box and handle damage immediately instead of heading home frustrated. Your favorite rod has plenty of fishing left—it just needs simple care to stay in action.

Ready to upgrade or find replacement parts? Browse our fishing products for rods, reels, and all your fishing needs.